Windows modules installer worker (TiWorker.exe) is a windows update service that looks for the new updates from the windows server and if any new updates are available it installs them on your computer. From this guide, you can know everything about tiworker.exe windows modules installer worker windows 10.
This process starts up at ever windows startup i.e., every time you switch on your PC. Generally, this process runs in the background while your computer is checking for the new updates and releases the resources of the system when the update is over.
Sometimes, this process would lead to the high CPU usage or disk usage of the computer which is more than 50 and makes your computer slow down or hangs or freezes all the processes of your computer.
This is the most commonly encountered problem with many of the Windows 7 /8 / 10 users. Usually, this error is said to occur after the update has run on the computer. When this problem occurs, not only the computer slows down but also the performance of the apps that are running on the system also reduces.
Visit – Watch new release movies online free without signing up

Contents
- Solutions to Fix Windows Modules Installer Worker High CPU / Disk Usage
- Scan Your PC for Malware or Virus
- Repair Corrupted Files If Any
- Run Windows Updates and Install Them
- Run Windows Update Troubleshooters and System Maintenance
- Decrease Process Priority of TiWorker.exe
- Run System File Checker (SFC) and Services
- Fix the Windows Corruption Errors with System Update Readiness Tool (DISM tool)
- Set Windows Update to Manual Mode
- Clean Boot the Computer
Solutions to Fix Windows Modules Installer Worker High CPU / Disk Usage
There is also a chance that the CPU becomes overheat as it constantly utilizes all the threads that are available for processing the requests by the process TiWorker.exe in this case.
In order to fix this issue of high CPU or high disk usage, we have detailed several solutions here. Users who are facing this issue and searching for the solutions of the same can go through this post completely and try to fix the problem with any of the perfect solution based on the actual cause.
-
Scan Your PC for Malware or Virus
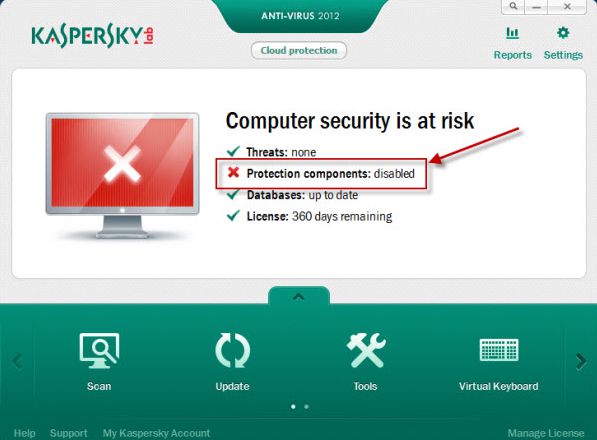
Any malware or virus programs in the computer can make the TiWorker.exe use high CPU / disk problems. Before you start troubleshooting TiWorker.exe high CPU issue, it is always better for you to scan your computer for any malware or virus using the antivirus program installed on your PC.
If your computer doesn’t have one, you can download the best antivirus or malware scanner software for your PC and scan for the virus that is running on your PC and remove them completely from your computer.

-
Repair Corrupted Files If Any
Missing or corrupted files can also cause the issue of high CPU / disk usage on your computer. So, do the scan for the missing or corrupted files in the system using the software like Reimage plus and restore back the corrupted or missing files.
You can also try other software’s to scan and repair the corrupted and missing files of the system. Once after doing this, see whether the CPU / Disk usage by TiWorker.exe has been reduced. If not try the next solutions given here.

-
Run Windows Updates and Install Them
Make sure that your Windows system is installed with all the new available windows updates. If not, you can install them in the following way.
- If your Windows PC is running on Windows 8 / 8.1, the press the buttons Windows along with R for opening the run dialog box.
- Now in the Run box, type the command “wuapp.exe” without quotes and click on Enter button.

- Tap on the button “Check for updates” and install all those updates you have found.
- If you are using Windows 10, tap on the “Start” button on your desktop and click on the “Settings” options to open it as shown in the below picture.
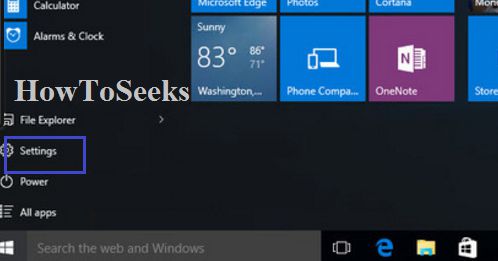
- Click on the option “Update & security” from the settings and
- Click on the button “Check for updates”.
- Install all those updates you found there.
This process can solve the issue of high CPU usage by TiWorker.exe sometimes. If it does not do try the next solution out there.
-
Run Windows Update Troubleshooters and System Maintenance
To fix all system problems automatically, you just need to run the System maintenance troubleshooter and this can be done by the following method.

- Right click on the start button of the windows and choose “Control Panel” from it.
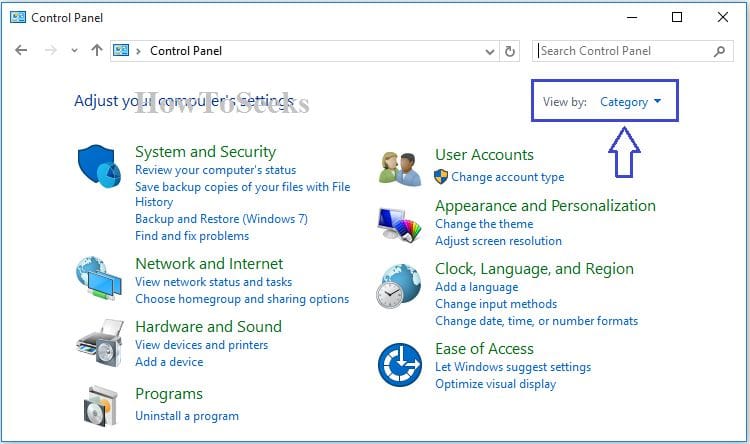
- In the top right corner of the Control Panel, set the “View By” category to “Small Icons”.
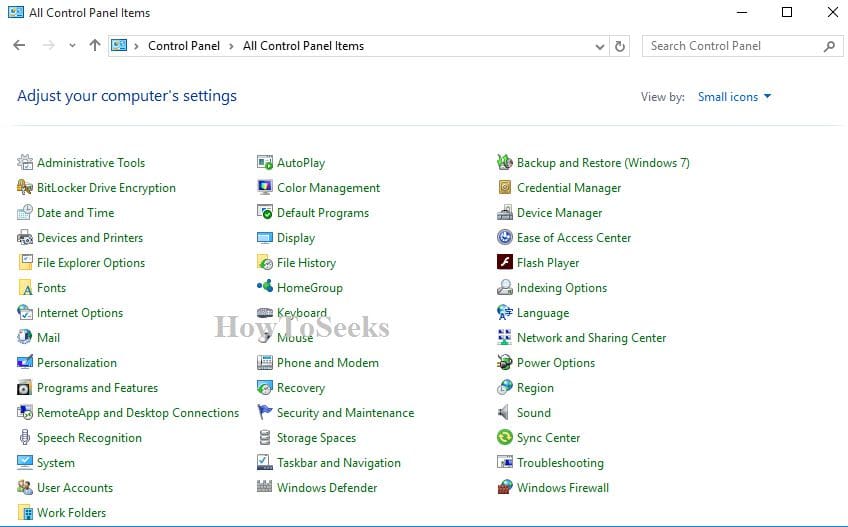
- Now from the list, locate and click on “Troubleshooting” to open it.

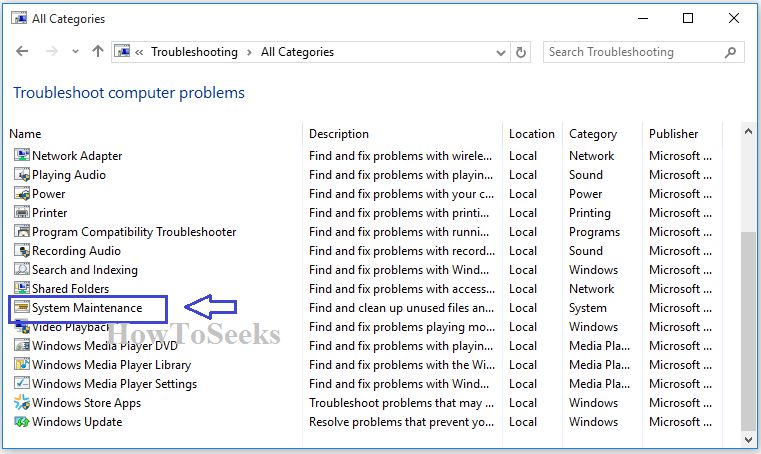
- In the Troubleshooting window that appears on the screen click on the “View All” button in the left pane of the window.
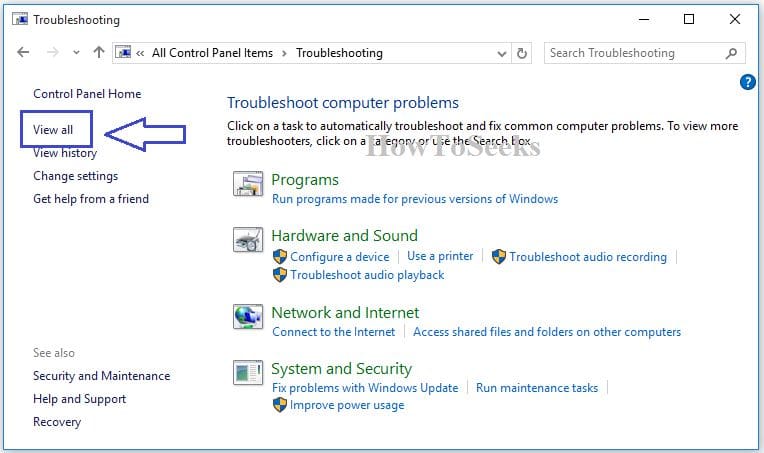
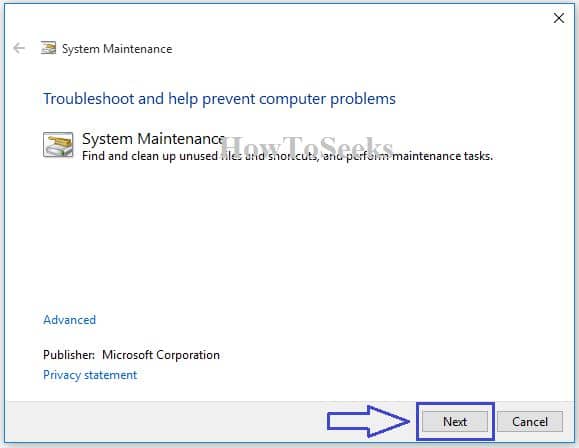
- Now in the other window that appears, double tap on the “System Maintenance” option.
- Click the “Next” and then follow all the onscreen instructions or prompts for running the System Maintenance troubleshooter.
- Once the system maintenance troubleshooting completes, from the utility list of the troubleshooting all categories window select the “Windows Update” troubleshooter.
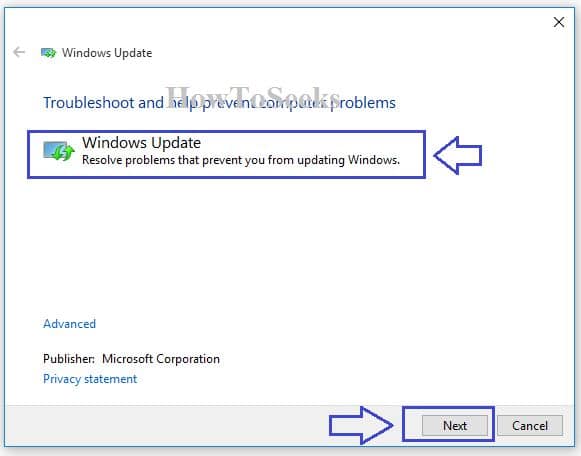
- Press the button “Next” as shown in the below picture and follow all the on-screen prompts/instructions for troubleshooting and to fix all the problems with the windows update.
- Finally, once the problem completes, check if the problem has resolved completely with the TiWorker.exe using high CPU. Most probably doing this will fix the issue. If the issue still remains, go to the next fix.
-
Decrease Process Priority of TiWorker.exe
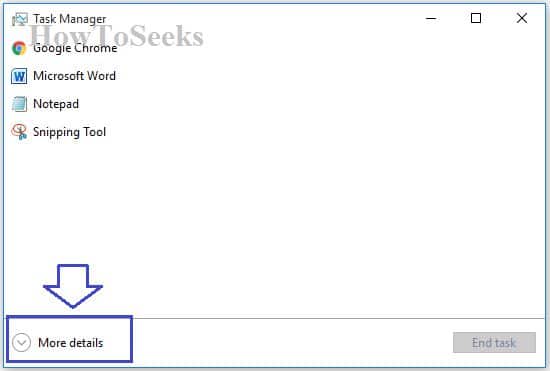
- Right-click on the Windows Start button or press the buttons Ctrl + SHIFT + Esc all at a time for opening the “Task Manager”.
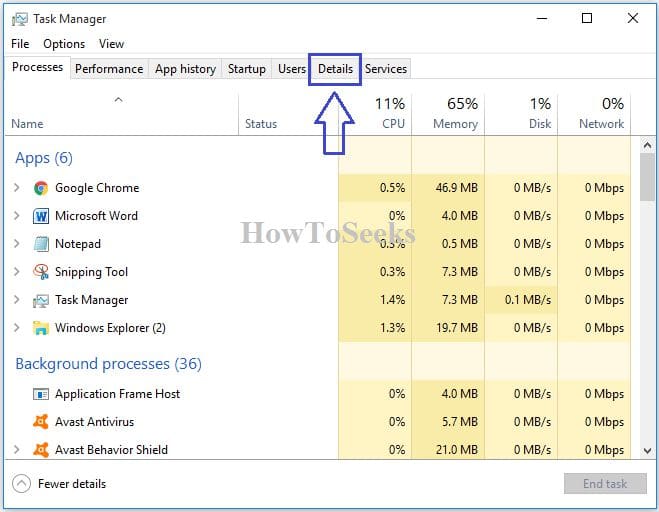
- Then, tap on the “More Details” in the Task Manager window as shown below.
- In the Task Manager window, click on the tab “Details”.
- In the list of details that are shown, right click on the process “TiWorker.exe” and in the drop-down menu that shows click on “Set Priority” and then tap “Low”. You can also select “End Process Tree” for disabling the TiWorker.exe process completely if doing the above does not help.
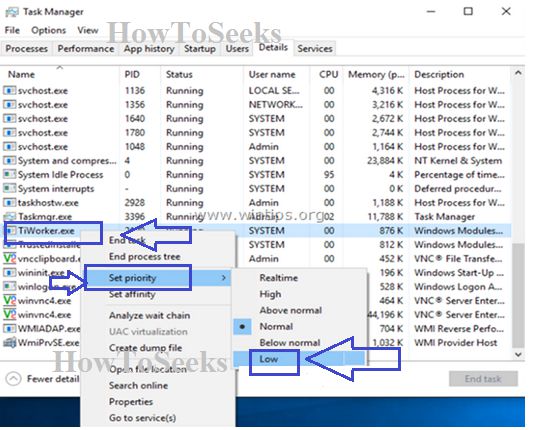
- After the process completes, and the changes are saved see that the issue with the TiWorker.exe is solved. If this method is not working, try out the next solution.
-
Run System File Checker (SFC) and Services
For fixing the corrupted files as well as services, one can also run the SFC (System File Checker). You can do it as shown here.
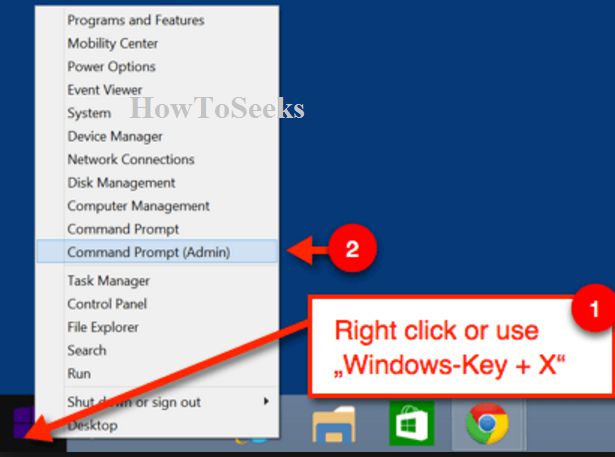
- Right-click on the Start button of the windows and choose Command Prompt (Admin) or click Windows key and W buttons for opening the run box in which you need to type “cmd” in the run box, select “Run as Administrator” checkbox and click Enter button to open the command prompt as administrator.
- In the command prompt window that appears on screen, type the command sfc /scannow and click on the Enter button from your keyboard.
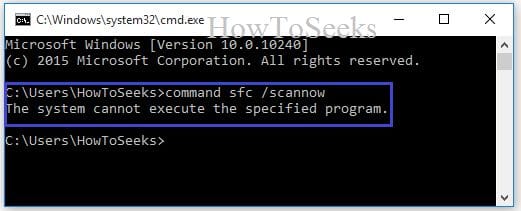
- The process will take at least 30 to 50 minutes, so wait some time and in the meantime does not use your PC till the SFC tool scans and repairs all the corrupted files and services of the system.
- If you get the following message after the process completes you do not have to do anything.
- Windows Resource Protection did not find any integrity violations
- You just need to reboot your computer and test for the CPU usage by the TiWorker. If it is using fewer amounts of disk / CPU, the problem is resolved.
- But, If you are getting the below another message as shown below, then there are windows corruption errors in it and you need to fix them with the help of below-given solution.
- Windows Resource Protection Found Corrupt Files (etc…).
-
Fix the Windows Corruption Errors with System Update Readiness Tool (DISM tool)
- Start with right-clicking on the Start button of the windows and choose “Command Prompt (Admin)” from the list.
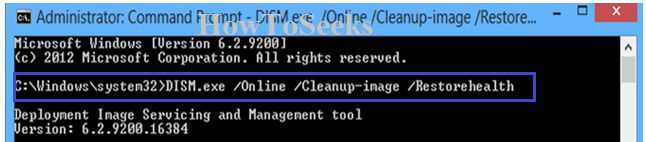
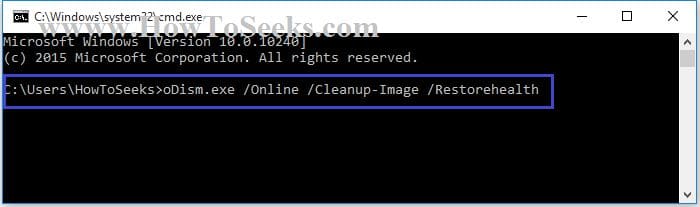
- Once the command prompt window appears on screen, type the command as given below and click Enter from your keyboard.
- exe /Online /Cleanup-Image /Restorehealth
- You need to be patient till DISM repairs the store of the component.
- Once the cleanup operation is over, you will be notified on the computer screen as component store corruption was repaired and the operation completed successfully as shown in below image.
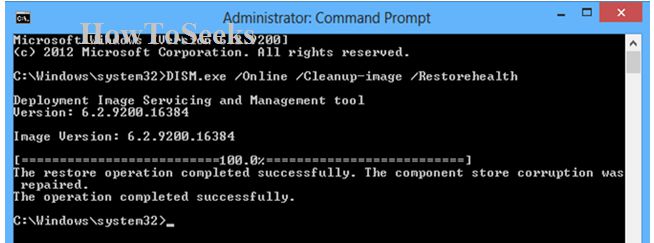
- Finally, close the command prompt window and then restart the computer and test for the CPU usage. If still the problem is not resolved, do the next fix.
-
Set Windows Update to Manual Mode
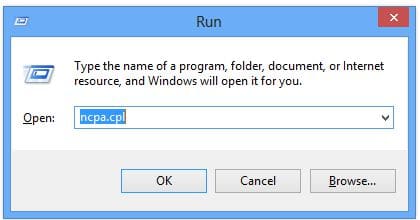
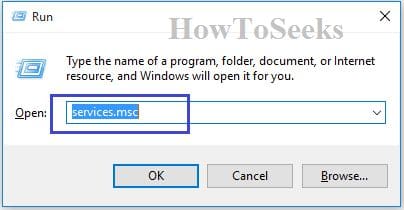
- Press Windows key along with the button R to open the Run dialog box.
- Type “services.msc” in the run box and click on “OK” button as shown below.
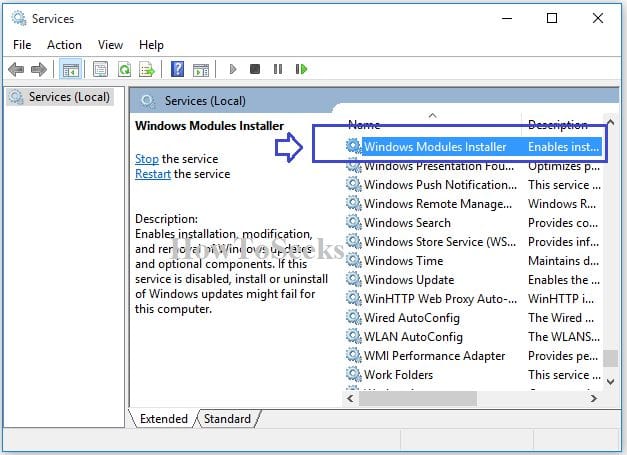
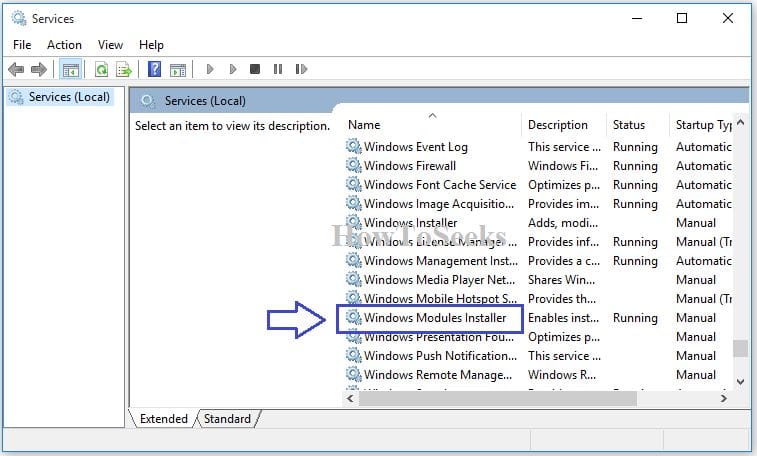
- In the Services window that appears on screen, go down and locate and double click on the option “Windows Modules Installer”
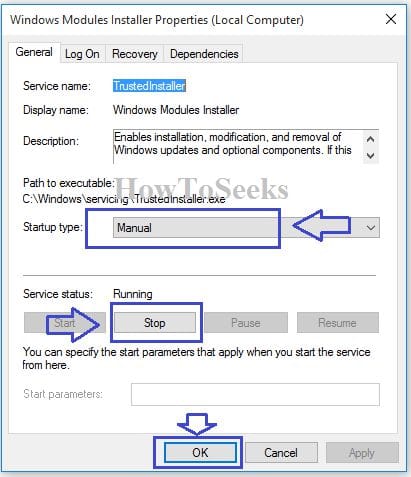
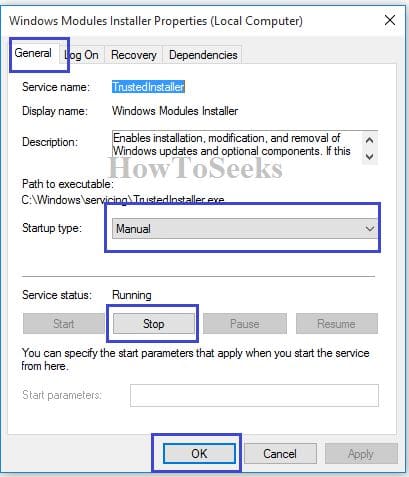
- Now, the properties window of the Windows Modules Installer will open from which you need to set the “Startup type” to “Manual” and then click on “OK” button.
- Again on the page Service settings, locate and double tap on “Windows Update”.
- Now in the Windows Update Properties window, set the “Startup type” to “Manual” as shown in below picture and tap on “OK” button.
- For preventing the windows 10 from automatically downloading the update, you have to do the following under various cases.
- Case-1: If you are using Wifi Network, go to the Start Menu and then click on “Settings”. Followed by that go to “Network & Internet” and then “WiFi”. Click on the “Advanced Options” in the right pane of the window and then tap on “ON” under the Set as metered connection.


- Case-2: If you are using the Ethernet network do the following
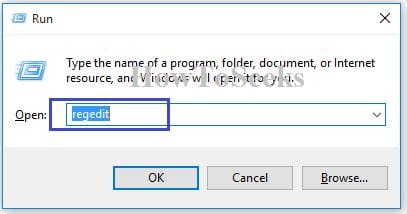
- Open the run box by pressing Windows along with R buttons.
- In the run box, type “regedit” without quotes and hit “OK” button and then click “Yes” when prompted by User Account Control (UAC)
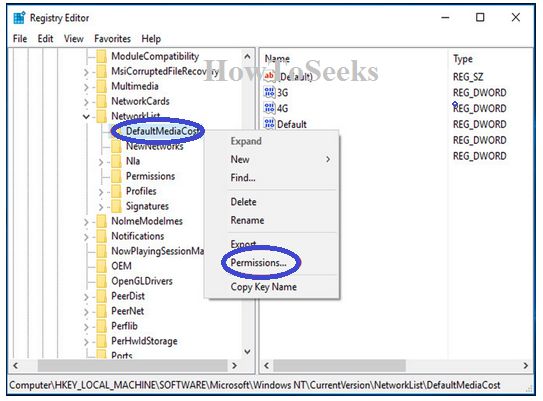
- On the Registry Editor window, on the left pane go to HKEY_LOCAL_MACHINE > SOFTWARE > Microsoft > Windows NT > CurrentVersion > NetworkList > DefaultMediaCost and then right click on “DefaultMediaCost” and then select “Permissions” as shown in the below image.
- Under the Group or username, click on the button “Add…”.
- Type the username in the “Enter the object names to select” box and then tap on “Check Names” as shown below.
- Finally, click on “OK” button for closing the Select Users or Group window.

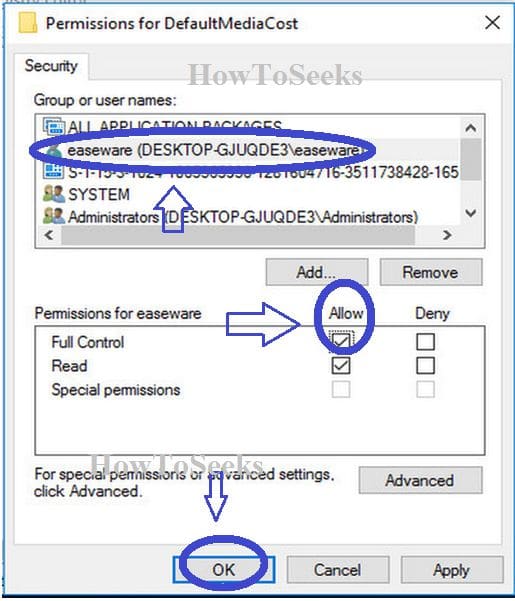
- Select the user that you have just added from the window and then tick the box “Allow” near the “Full Control” and then click on “OK” button.
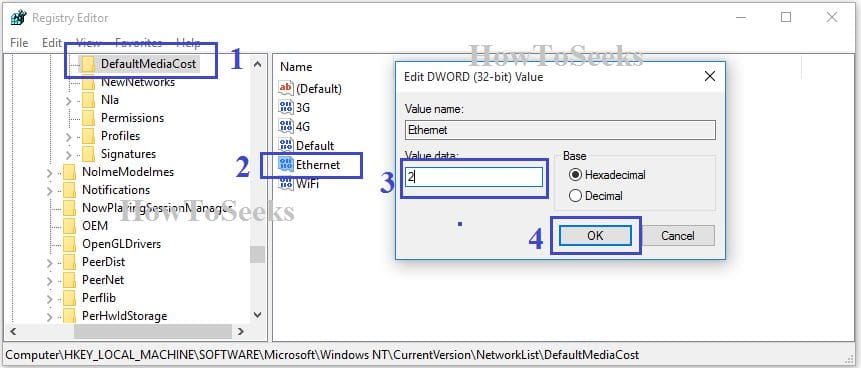
- On the Registry Editor Window right pane, double tap on the “Ethernet” and then set the “Value data” to 2 as shown below.
- Click on “OK” finally and close the Registry Editor window.
- After doing the above, reboot or restart your computer and check for the issue. Most probably, the windows modules installer worker would not cause the high disk / CPU usage on your Windows computer.
-
Clean Boot the Computer
This would be the final solution to fix the issue with the TiWorker.exe causing high CPU usage.
To Clean Boot the Windows Vista / 7 Computer do the following:
- Press Windows Key and R both together for opening up the run box.
- Type “msconfig” in the run box and click “OK”.
- Tap on the tab “Services” and select the checkbox before the option “Hide All Microsoft Services” which will be at the bottom of the window and then click on “Disable All” followed by clicking on “Apply” and then “OK” buttons.
- Again click on the tab “Startup” from the same window and tap on “Disable All”, click on “Apply” and the “OK”.
- That’s it. Now, you need to restart your computer for seeing the improvement in the speed of your computer.
To Clean Boot the Windows 8 / 8.1 / 10 Computer do the following:
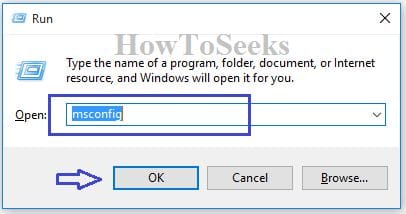
- Hold the buttons Windows along with R from your keyboard to open up the Run dialog box.
- Type “msconfig” in the box and hit “OK”.
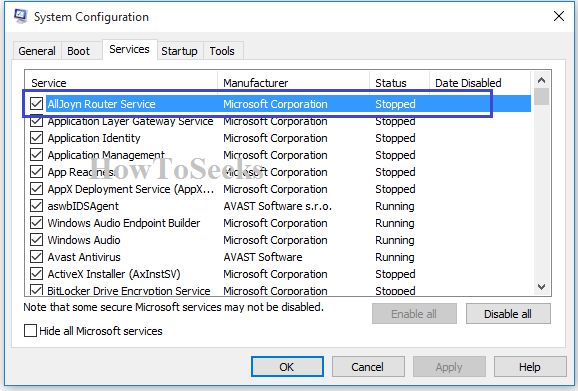
- The configuration window will open now from which you need to select the tab “Services” and select the checkbox with “Hide All Microsoft Services” and choose “Disable All”, followed by clicking on “Apply” and then “OK” button.
- Doing the above will prompt you to “Restart” the computer, select “Restart Later”.
- Now, press Windows and R buttons, type “msconfig” in run and tap “OK”.
- When the “System Configuration” opens this time, select “Startup” tab and choose “Open Task Manager”.
- Look for the last field of the pane “Start-Up Impact” and disable all those having the “High Impact”. You can do it by right-clicking on them and selecting “Disable”.
- This will disable them from starting up automatically when the PC reboots. You can also start them normally or enable then later if you want.
- Once this process finishes, you can restart the computer again and this will start in the clean boot mode which will resolve the issue of high CPU usage by TiWorker.exe.
All these are the best solutions that we have come across for solving the issue with Windows Modules Installer Worker using high CPU / disk as of now. So, try any of these fixes and get the problem resolved at its best.